How to Build a Blog with GitHub

Preface
Last year I wrote a post about how to build a website with GitHub, using GitHub Pages to upload your own HTML files to run a webpage.
Well… for building a blog, handwriting HTML, CSS, and JS is way too much work…
What to do? Use a framework!
qwq
I recommend Hugo… I think it’s the simplest.
A friend happens to want to rebuild their blog, so here’s the guide.
Register a GitHub Account
First, you need a GitHub account and a repository that can be displayed on GitHub Pages.
Last year’s article already explained how to register a GitHub account and create a GitHub Pages repository. I won’t repeat it here.
In short, you need a GitHub account and create a repository named:
your-github-username.github.io
Make sure to check “Public”.
Install Hugo
- Arch
$ sudo pacman -S hugo- Debian-based
$ sudo apt install hugo- Windows
Download the installer from GitHub Releases.
Generate a Blog
I’ll use Linux as an example. Other platforms may have some differences, so pay attention.
Open your terminal and run:
$ hugo new site testYour terminal will return:
Congratulations! Your new Hugo site is created in /home/weepingdogel/test.

Just a few more steps and you're ready to go:

1. Download a theme into the same-named folder.
   Choose a theme from https://themes.gohugo.io/ or
   create your own with the "hugo new theme <THEMENAME>" command.
2. Perhaps you want to add some content. You can add single files
   with "hugo new <SECTIONNAME>/<FILENAME>.<FORMAT>".
3. Start the built-in live server via "hugo server".

Visit https://gohugo.io/ for quickstart guide and full documentation.
If you don’t understand the English well, just use Google Translate.
Alright, now go to https://themes.gohugo.io/ to find a nice theme.

There are many themes here, qwq.
Well… it depends on personal preference. Different people like different things.
And various themes have different configuration methods. I’ll use hugo-coder as an example.
Enter the hugo directory:
$ cd testCheck the files inside:
$ ls -lhtotal 28K
drwxr-xr-x 2 weepingdogel weepingdogel 4.0K Oct 22 13:23 archetypes/
-rw-r--r-- 1 weepingdogel weepingdogel 82 Oct 22 13:23 config.toml
drwxr-xr-x 2 weepingdogel weepingdogel 4.0K Oct 22 13:23 content/
drwxr-xr-x 2 weepingdogel weepingdogel 4.0K Oct 22 13:23 data/
drwxr-xr-x 2 weepingdogel weepingdogel 4.0K Oct 22 13:23 layouts/
drwxr-xr-x 2 weepingdogel weepingdogel 4.0K Oct 22 13:23 static/
drwxr-xr-x 2 weepingdogel weepingdogel 4.0K Oct 22 13:23 themes/You only need to remember these directories:
config.toml— blog configuration file, global settingsstatic— static resource files, you can put images herecontent— articles you write go intocontent/posts/, other pages are also herethemes— this is where you put themespublic— generated static files
Now let’s execute these:
$ cd themes$ git clone https://github.com/luizdepra/hugo-coder.git $ cd ..Now copy the example site config from the theme:
$ cp ./themes/hugo-coder/exampleSite/config.toml ./Also copy the example content:
$ cp -rv ./themes/hugo-coder/exampleSite/content/* content/Start the local preview server:
$ hugo server Then visit http://127.0.0.1:1313/ with your browser to preview.
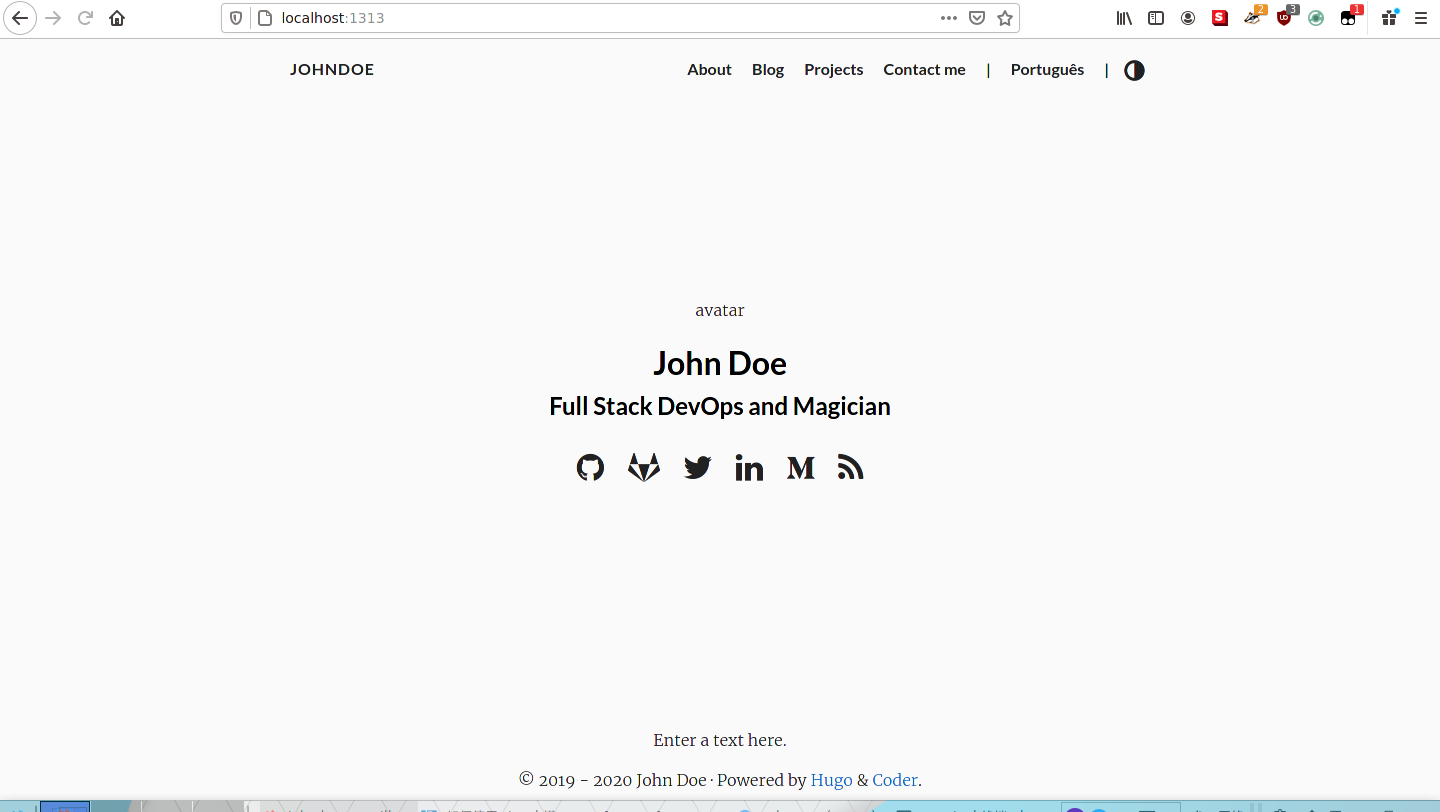
Now the blog is accessible locally. That’s half the battle.
You can edit config.toml to change your blog settings:
$ vim config.tomlbaseurl = "http://www.example.com"
title = "johndoe" # Blog title
theme = "hugo-coder" # Theme name, no need to change
languagecode = "en" # Language, default English..
defaultcontentlanguage = "en" # Same as above
paginate = 20
[params]
author = "John Doe"
description = "John Doe's personal website"
keywords = "blog,developer,personal"
info = "Full Stack DevOps and Magician"
avatarurl = "images/avatar.jpg"
...
# Social links
[[params.social]]
name = "Github"
icon = "fa fa-github"
weight = 1
url = "https://github.com/johndoe/"
...For detailed documentation about this theme, read this link.
Modify the config file according to your needs and the instructions~
Write a Blog Post
First, we need to create a *.md file. We can use hugo new to generate one, because different themes have different blank formats.
This is the blank format for my current site:
---
title: "Test"
date: 2020-10-22T17:08:31+08:00
draft: true
---
And this is the coder theme’s blank format:
+++
draft = true
date = 2020-10-22T17:09:47+08:00
title = ""
description = ""
slug = ""
authors = []
tags = []
categories = []
externalLink = ""
series = []
+++
They’re different, right? So we need to do it this way:
$ hugo new posts/helloworld.mdIf the terminal returns:
/home/weepingdogel/test/content/posts/helloworld.md createdIt means the file was created successfully. Now just edit this file to write~
Oh right, writing blog posts requires using Markdown syntax. If you don’t know it, click the link to learn~
Let me write a symbolic one:
+++
draft = false
date = 2020-10-22T17:09:47+08:00
title = "HELLO WORLD"
description = ""
slug = ""
authors = []
tags = []
categories = []
externalLink = ""
series = []
+++

## Hello World

**It's my first blog!**

```c
#include<stdio.h>
int main(){
  printf("Hello World");
  return 0;
}
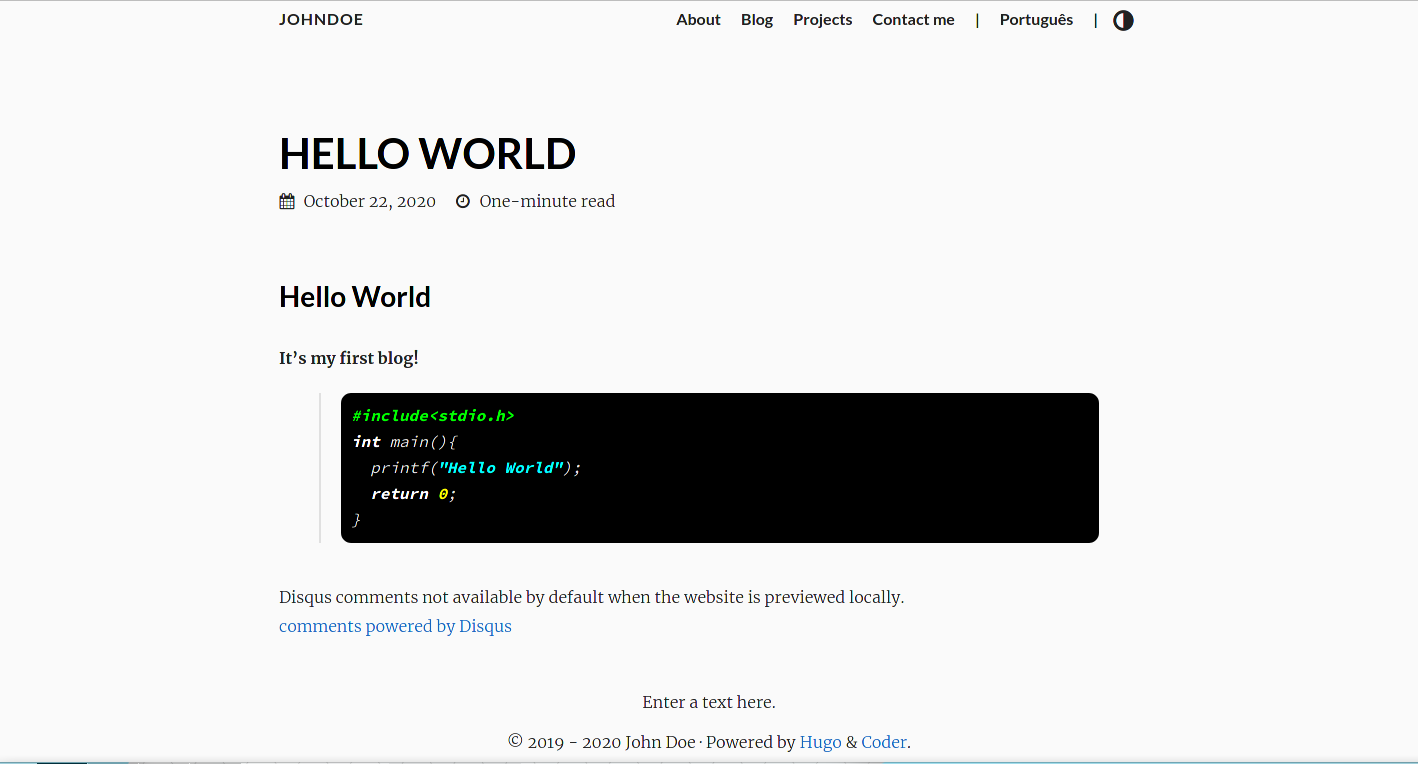
Remember to change `draft` to `false`, otherwise it will be recognized as a draft and won't be published.
## Publish to GitHub
After writing, we can only preview it locally at `127.0.0.1:1313`. Others can't see it.
We need to put it on GitHub.
First generate the static files:
```bash
$ hugo --theme=hugo-coderIt will output:
Start building sites …

                   | EN | PT-BR
-------------------+----+--------
  Pages            | 57 |    25
  Paginator pages  |  0 |     0
  Non-page files   |  0 |     0
  Static files     |  0 |     0
  Processed images |  0 |     0
  Aliases          | 21 |     9
  Sitemaps         |  2 |     1
  Cleaned          |  0 |     0

Total in 237 ms
Enter the public directory:
$ cd public/Now we need to push all the files in this directory to the yourusername.github.io repository. It’s actually quite simple.
Initialize the repository:
$ git initAdd files:
$ git add -AMake a commit:
$ git commit -m "Initial commit"Add your GitHub repository remote:
$ git remote add origin https://github.com/yourusername/yourusername.github.io.gitPush using HTTPS:
$ git push -u origin masterThen enter your account credentials and it will automatically push to the repository. After waiting a moment, your blog will be accessible at:
https://yourusername.github.io/Conclusion
This hole is finally filled.
Yeah, this one was also quite lazy and not very detailed. If you still can’t figure it out after reading, leave a comment below.
qwq