FreeBSD First♂ Experience

Opening Remarks
I was bored and decided to write some filler update my blog again. This time I planned to add some filler write a longer post, and then I thought I’d try my hand at FreeBSD, hehe.
Introduction to FreeBSD
FreeBSD is a Unix-like operating system, which is different from Linux…
Unix… I feel like few people use it… probably even fewer than Linux, but it should be pretty good for servers…
Wikipedia says:
FreeBSD is a free and open-source Unix-like operating system descended from the Berkeley Software Distribution (BSD), which was based on Research Unix. The first version of FreeBSD was released in 1993. FreeBSD is the most widely used open-source BSD distribution, accounting for over three-quarters of all installed BSD systems.
FreeBSD is an enterprise-level system supporting many hardware and architectures. Like other BSD operating systems, FreeBSD’s core, drivers, and all userland applications (like Unix shell and commands like cat and ps) are stored in the source repository. FreeBSD can also run other binary software, such as Linux programs. With the ports and FreeBSD package manager, you can install various applications on it.
Installation
Preparation
I planned to just play around with it in a virtual machine~
Q: Is it VirtualBox?
Yes, the VirtualBox I mentioned before. There’s not much to say about it — creating a virtual machine shouldn’t be a problem. The question is how to proceed with the installation.
Besides the virtual machine, we also need to prepare the FreeBSD installation image. You can download it from the official source, but considering speed issues, you can also get it from some domestic mirrors.
Note: Make sure to determine your architecture when downloading—don’t get it wrong (most should be amd64).
What? You’re asking about system requirements? Well…
Let’s see what the official site says:
FreeBSD/i386 and FreeBSD/pc98 versions require a 486 or higher processor and at least 24 MB of RAM. You need at least 150 MB of free hard disk space to complete the minimal installation configuration.
For the amd64 architecture, in a word, if you have a processor, memory, and a hard drive, you can use it. And since we’re using a virtual machine…
Installation Process
First, import the image into the virtual machine. I won’t go over this again — you can find it through Baidu or Google…
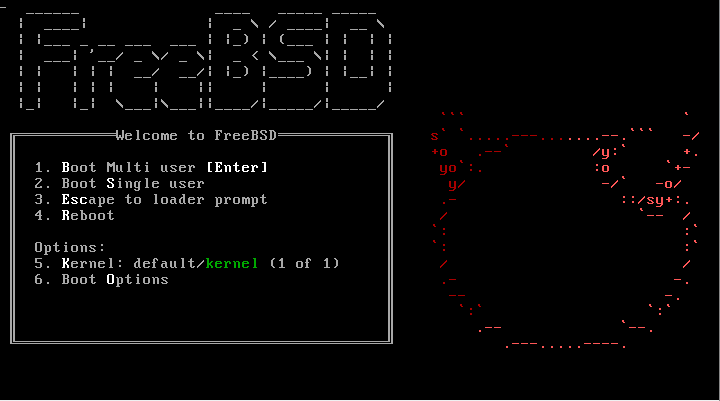
Then we start it up and see this lovely screen…
You can press Enter directly, or wait 10 seconds for it to auto-start.
After booting, we come to this screen:
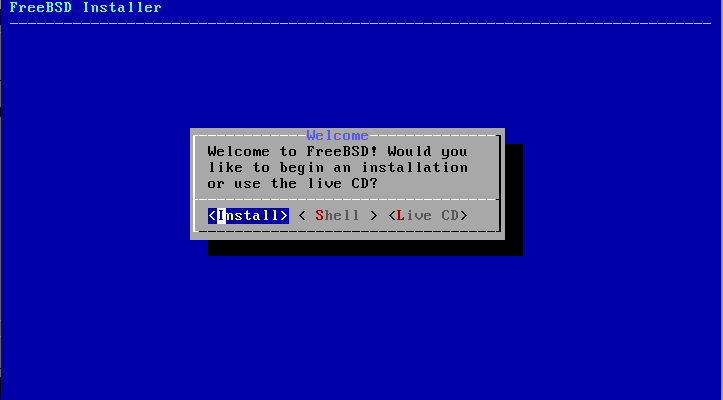
Select Install and press Enter.
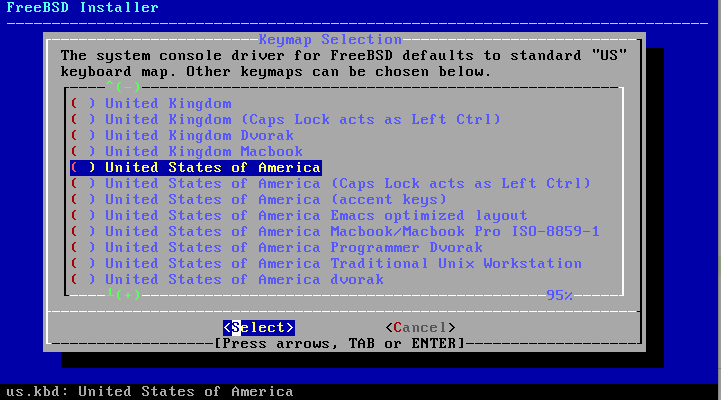
Then choose the keyboard type — here select United States of America:
After selecting, go back to the first option and press Enter. Of course, you can also test your keyboard at the second option:
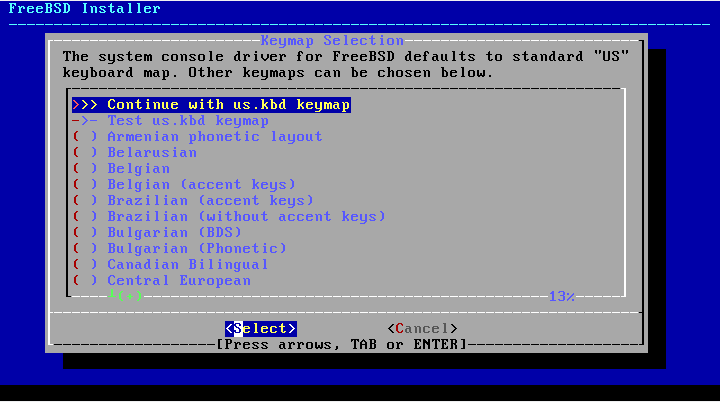
What? Can’t understand English?
The first option is Continue
The second is Test Keyboard
The ones below are region or country names.
Next, enter your hostname:
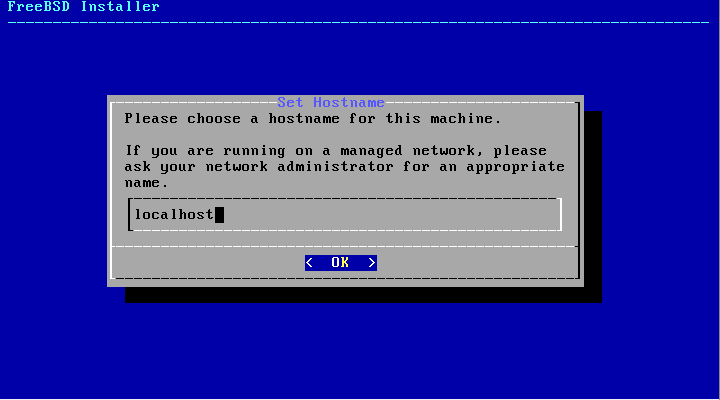
I’ll just enter localhost.
Then press Enter.
Then I was confused…
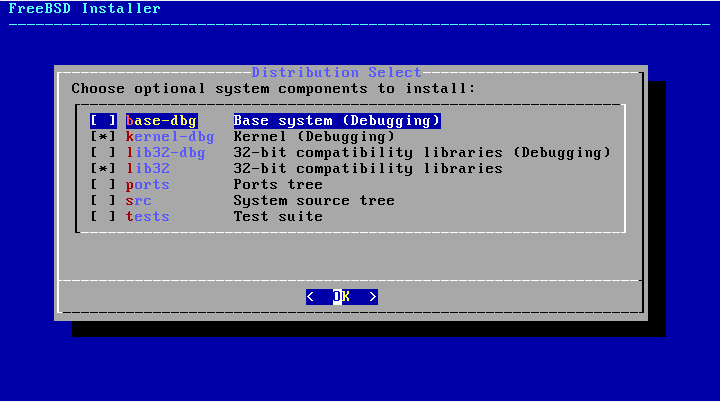
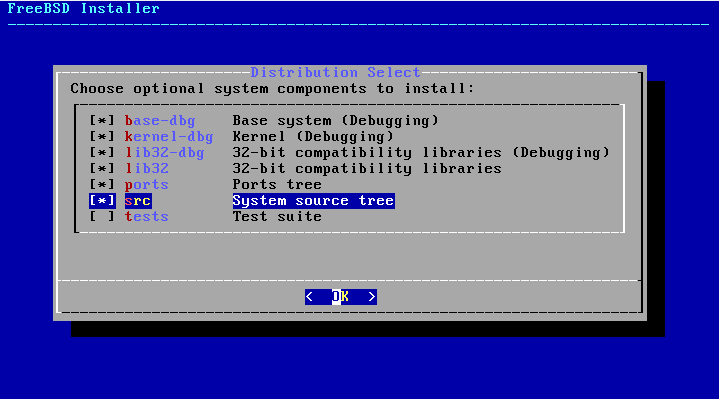
After checking the English manual, this is where you choose the components to install.
According to the official guide, here’s a translation:
- base-dbg — some basic packages, like ‘cat’ etc. (debugging)
- kernel-dbg — kernel and kernel modules (debugging)
- lib32-dbg — 32-bit dependencies, with (debugging)
- lib32 — same as above but without (debugging)
- ports — similar to Gentoo’s portage, must install
- src — some source code, better to select
- tests — some test code, no need to select
I thought for a moment and chose this way. You might ask why I chose this — I used my experience.
Then you should use a translation tool to go through the official manual.
Next is partitioning:
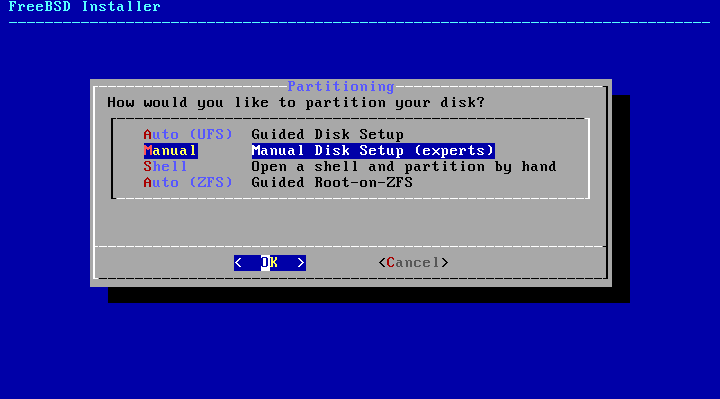
There are four methods here:
- Auto(UFS) — automatic partitioning with UFS filesystem
- Manual — manual partitioning
- Shell — partition using commands
- Auto(ZFS) — automatic partitioning with ZFS filesystem
Alright, I’ll choose the second option, manual.
Then we get here:
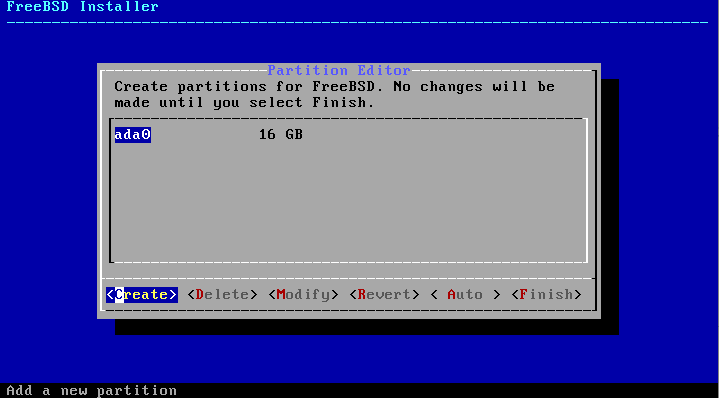
Select create to create a partition table. The official manual explains to create a GPT partition table, but since I didn’t enable EFI, I’ll use MBR.
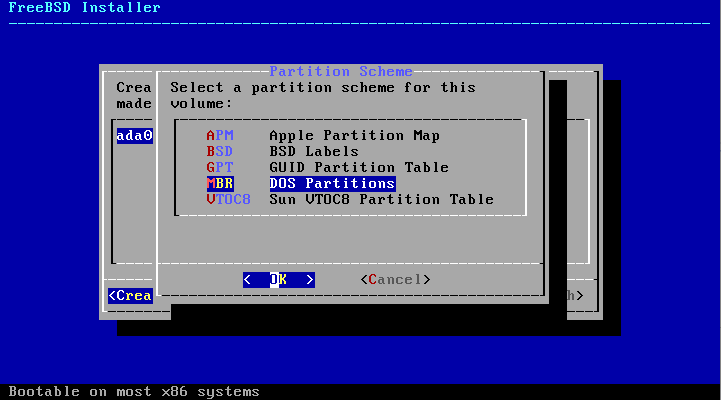
The graphical operations here have prompts. If you can’t understand English, you can use a translator.
What? Still can’t do it? This thing is similar to cfdisk.
Anyway, I won’t show the detailed process with screenshots. Just make sure the partitions look like this:
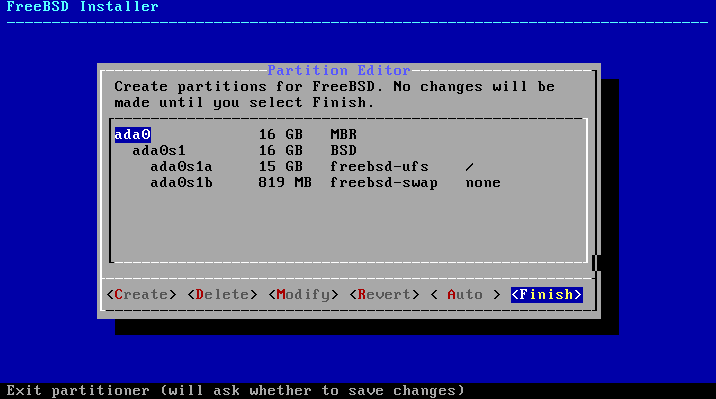
Then select Finish, followed by Commit:
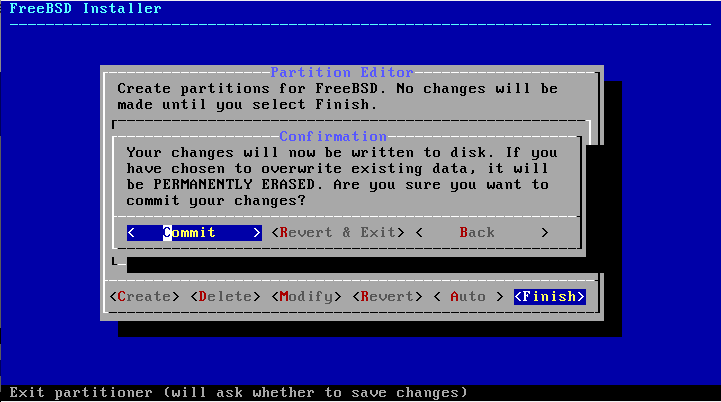
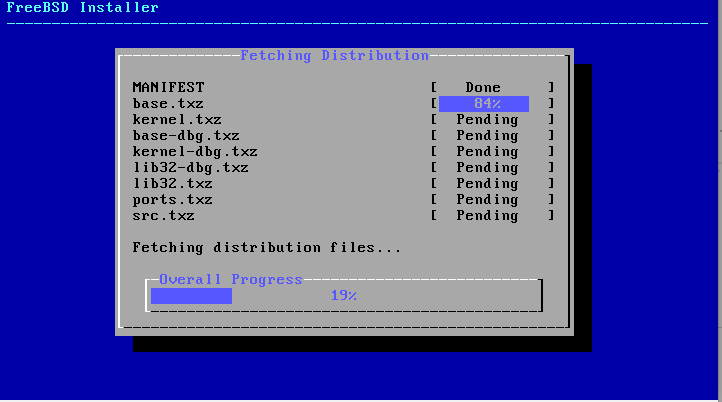
Then it will slowly install:
Next, you need to set a password. Unix systems don’t allow empty password logins.
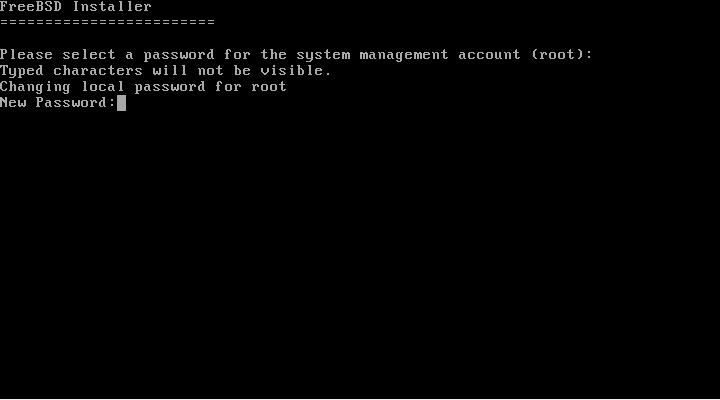
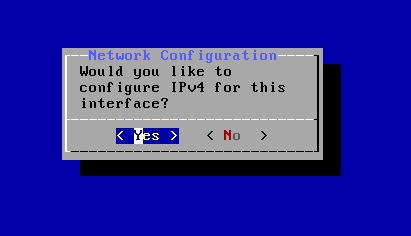
Just like Linux, set one you can remember. Then it will ask you to confirm the network card:

After that, select yes all the way through — no need to elaborate.
Here, select all:
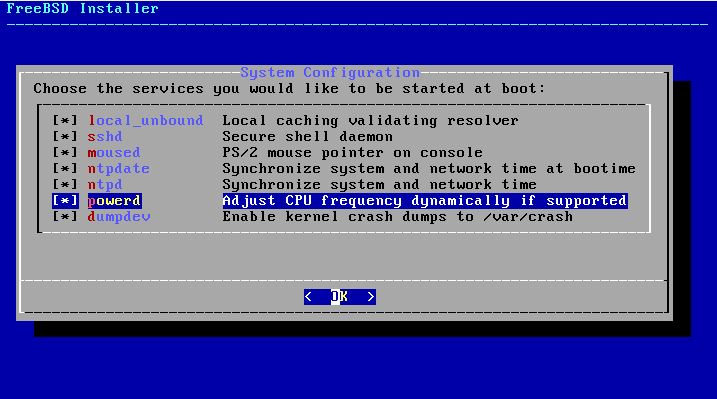
Then press Enter, check 6, and continue pressing Enter:
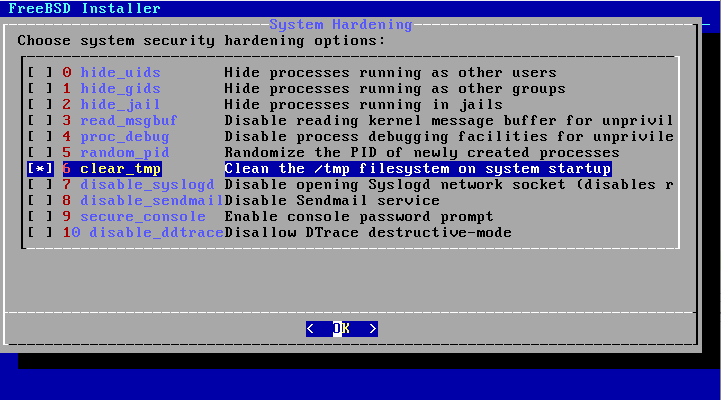
Last prompt, yes, then press Enter.
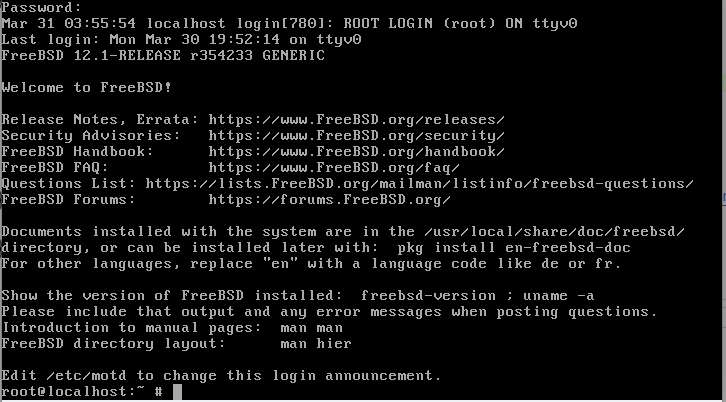
Then reboot, it will auto-start, log in as root, and you’re done!
Post-Installation Thoughts
FreeBSD is definitely suitable for servers, and maybe for tinkering, but for daily use, there are many frustrating issues.
Anyway, I can’t play around with it… not even a decent text editor… I really can’t use vi… and there are many configuration files to modify…
If you have any ideas, leave a comment below.